Classic Chocolate Fudge
Let’s get started!
What You’ll Need
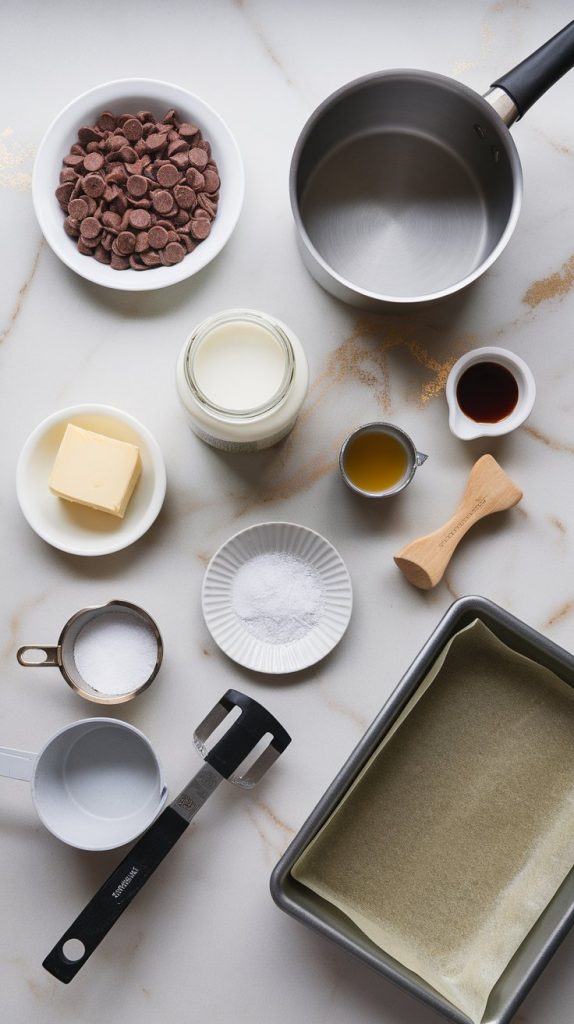
Ingredients:
- 3 cups semi-sweet chocolate chips
- 1 (14 oz) can sweetened condensed milk
- 4 tablespoons unsalted butter
- 1 teaspoon vanilla extract
- Pinch of sea salt
- Optional toppings: chopped nuts, sprinkles, or a light sprinkle of sea salt
Tools:
- Medium saucepan
- Heatproof spatula
- 8×8-inch baking pan
- Parchment paper
- Measuring cups/spoons

Pro Tips
- Use good chocolate. The quality of your chocolate chips will make a big difference in taste.
- Prep your pan first. Line the baking pan with parchment paper, leaving extra hanging over the edges for easy removal.
- Don’t overheat. Melt the chocolate on low heat to avoid burning—it’s better to go slow and steady.
- Get creative with toppings. Try adding nuts, crushed candy canes, or even a drizzle of caramel for a fun twist.
- Let it set completely. Be patient and let the fudge chill in the fridge before cutting—it’s worth the wait!
Substitutions and Variations
- Dairy-free? Use dairy-free chocolate chips and coconut condensed milk for a vegan version.
- Different flavors. Swap vanilla extract for peppermint or almond extract for a unique flavor.
- Mix-ins. Stir in crushed cookies, marshmallows, or dried fruit before the fudge sets.
How to make it
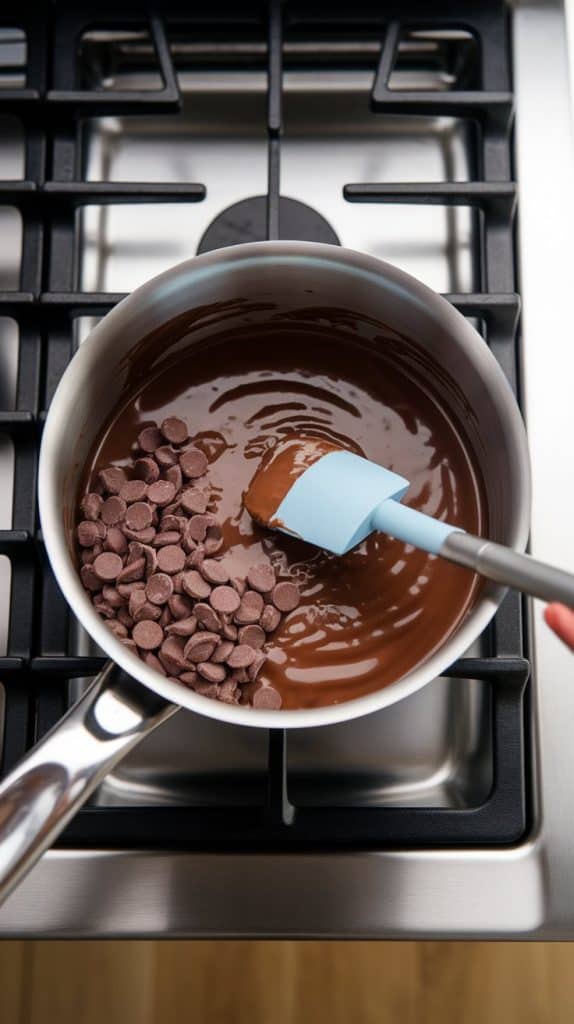
1. Melt the Chocolate
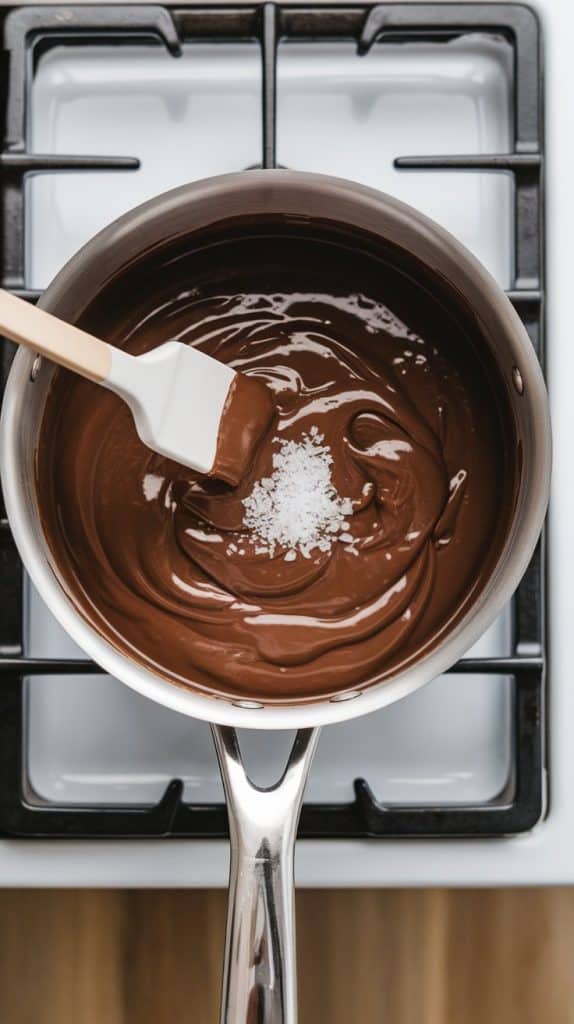
In a medium saucepan, combine the chocolate chips, sweetened condensed milk, and butter. Heat over low heat, stirring constantly with a spatula, until the mixture is completely melted and smooth.
2. Add Vanilla and Salt
Once melted, remove the saucepan from heat. Stir in the vanilla extract and a pinch of sea salt until well combined.
3. Pour into the Pan
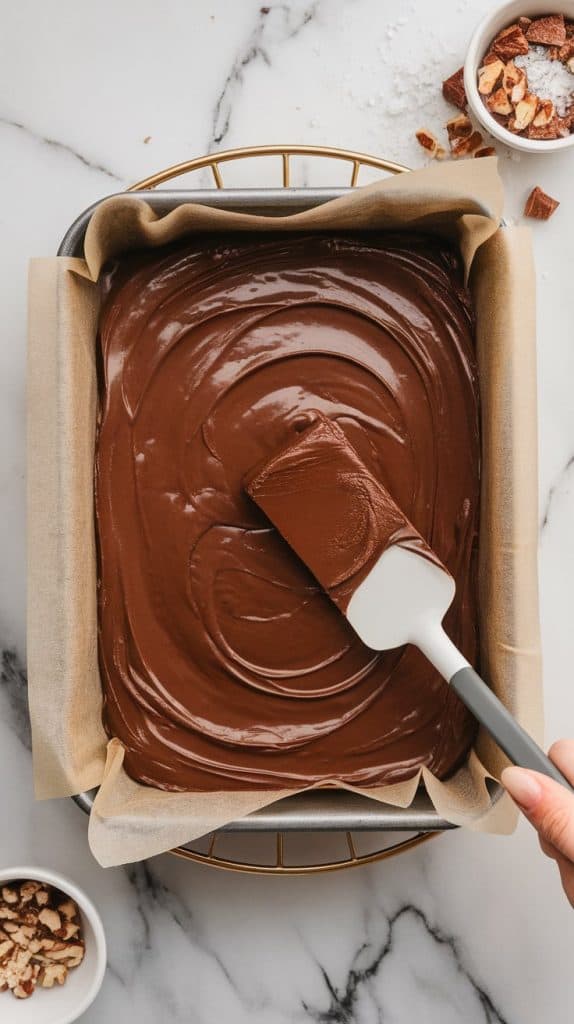
Pour the chocolate mixture into an 8×8-inch baking pan lined with parchment paper. Smooth out the top with a spatula. If using toppings, sprinkle them evenly over the surface.
4. Chill the Fudge
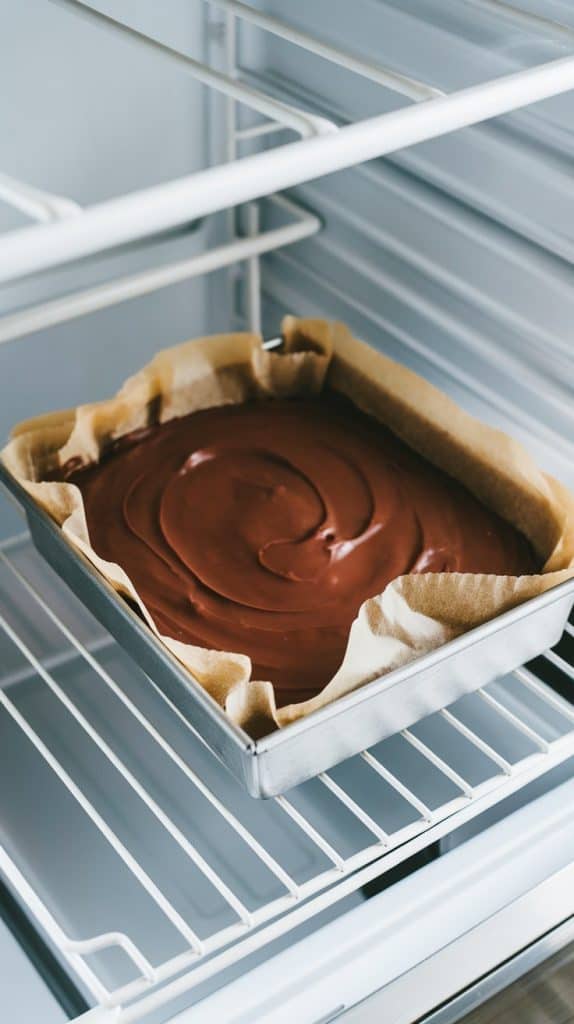
Place the pan in the refrigerator and let the fudge set for at least 2-3 hours, or until firm.
5. Cut and Serve
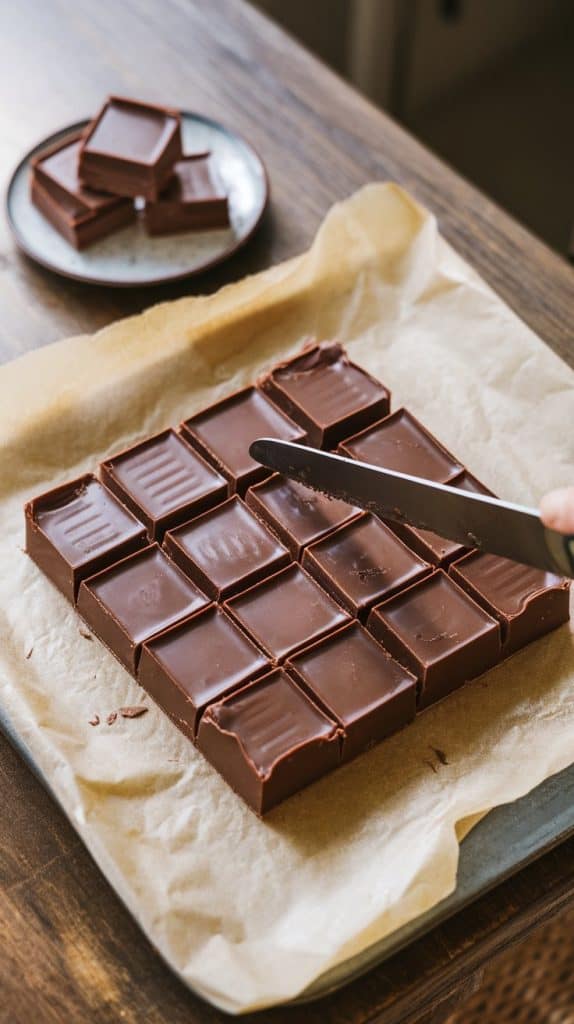
Once the fudge is firm, lift it out of the pan using the parchment paper. Cut into small squares using a sharp knife and serve!
Leftovers and Storage
- Store fudge in an airtight container in the fridge for up to 2 weeks.
- For longer storage, freeze the fudge in a freezer-safe container for up to 3 months—just thaw in the fridge before eating.
Conclusion
This Classic Chocolate Fudge is the ultimate treat for any occasion. It’s creamy, chocolatey, and so easy to make—you’ll never want to buy store-bought fudge again! Try it out, and let me know in the comments how it turned out or if you added your own toppings. Happy indulging! 🍫✨
Recipe Details
- Prep time: 10 minutes
- Cook/Chill time: 2 hours (chill)
- Total time: 2 hours 10 minutes
- Servings: 16 pieces
- Calories: ~160 kcal (approx.)
Nutrition (Approximate)
| Nutrient | Amount |
|---|---|
| Calories | ~160 kcal |
| Sugar | ~19 g |
| Fat | ~8 g |
| Protein | ~2 g |
Frequently Asked Questions
Why is my fudge grainy?
Melt the chocolate gently and stir until smooth; overheating can make it grainy.
How long does chocolate fudge last?
Store it in an airtight container in the fridge for up to 2 weeks, or freeze for 3 months.
Can I add nuts?
Yes — stir in chopped walnuts or pecans, or press them on top before chilling.
Related Recipes